
It doesn’t matter if you are eight or 80; winning a ribbon or rosette is always special. No matter what the colour, no matter what the class or the discipline, each one is a tangible symbol of your riding accomplishment, your partnership with your beloved horse, and a testament to the hard work and dedication that went towards it.
The trouble is, what do you do with them? If you are eight, you probably stick them up on your bedroom wall. But eventually, you’ll grow out of that, and they will end up in your tack room or horse truck gathering dust, stashed in a box in the garage, or simply thrown away.
While there are always ‘recycled ribbon days’ that you can donate to, it’s hard to part with the most treasured mementoes.
And so, using a bit of of creativity and ingenuity, here are my top four do-it-yourself ways to display your hard-earned rosettes that don’t involve cluttering up the walls.
1. PHOTO FRAMES
Whether you want to use one special rosette or an entire season’s worth, or those won by a specific horse, photo frames offer a host of options. Best of all they needn’t be expensive, are super-easy to find, and come in a wide range of sizes and colours to fit any décor. A can of spray paint can do wonders on an old frame.
Or if you prefer a modern look, The Warehouse, K-mart and Spotlight stock a huge range of low-cost frames and shadowboxes.
Shadowboxes are great if you want to honour a particular horse. Consider adding their halter, some photos, a rosettes or two, and other special mementos, or just fill it up with rosettes.
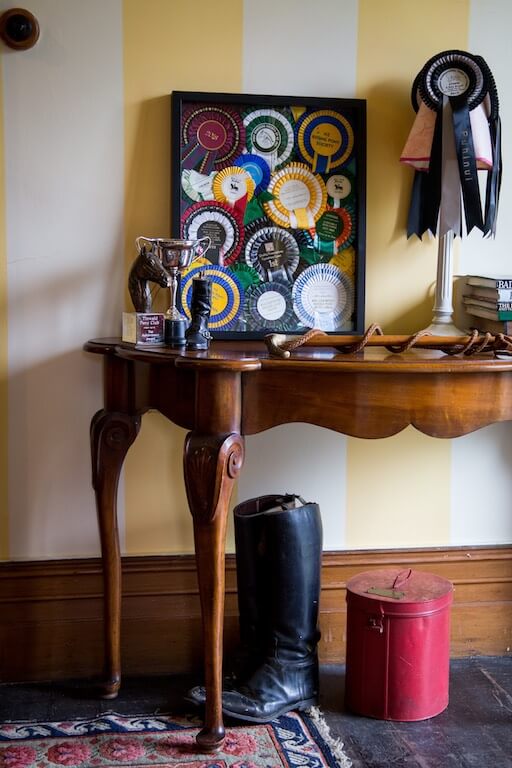
While a single frame will make a statement in any room, if you want to take it a step further, try creating a gallery or collage wall. These are perfect for awkward spaces where traditional art does not quite fit, large empty walls, narrow hallways and entrance ways.
A gallery or gallery wall can be done in many ways; ordered and symmetrical or organic and free-flowing. The size of the area you have will dictate how many items you can use. Gather everything you want to include together, and start arranging your collection on the floor in front of the wall you are using, starting with the centrepiece.
Once the layout is complete, take a picture of it and note the distances between each item. Then start hanging items on the wall in the same spacing, one at a time. The key to a wall collage is lines; the perfect wall collage has objects and pictures sharing the same lines.
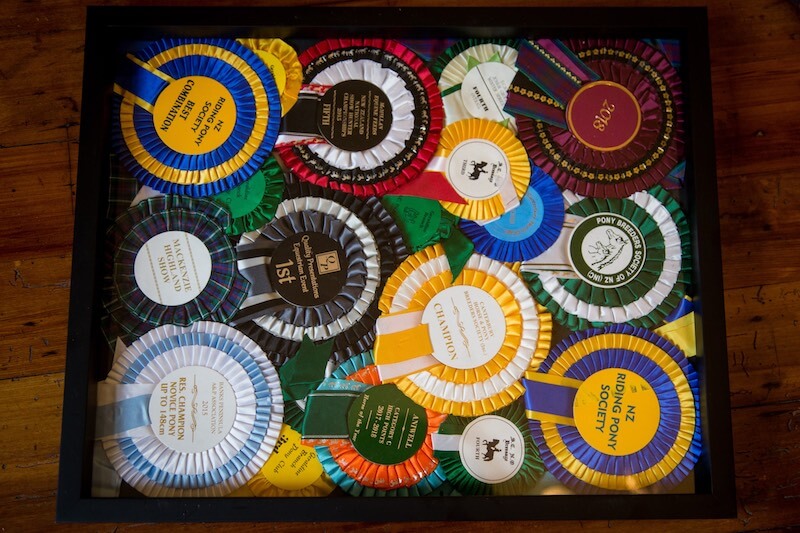
Materials
- Deep picture frame
- Rosettes
- Photos or other mementoes (back number, horse shoes, show catalogue, halter, lead-rope etc)
Instructions
- Lay out the rosettes you want to include and cut off the clips at the back so they are able to lay flat.
- Trim off rosette tails (I left them on, which made it harder to get the back on, but meant I could use the tails to fill in any gaps)
- Measure and cut black or navy card to same size as backing board.
- Lay out your rosettes facedown on the glass, starting with your favourite and using it as the centrepiece.
- Layer rosettes from the centre out, making sure to overlay to avoid any gaps. Use a mixture of smaller and larger rosettes to add effect.
- Once you’ve decided on a layout you’re happy with, cover with the black card and backing board and fix in place.
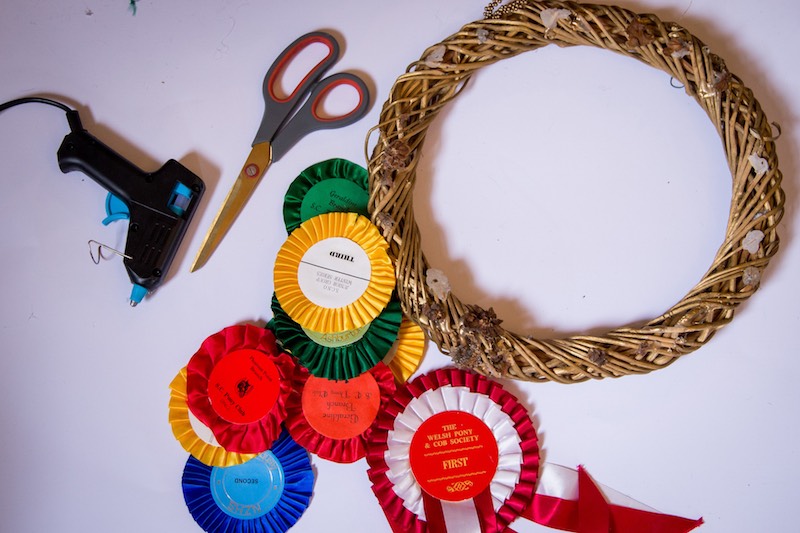
2. ROSETTE WREATH
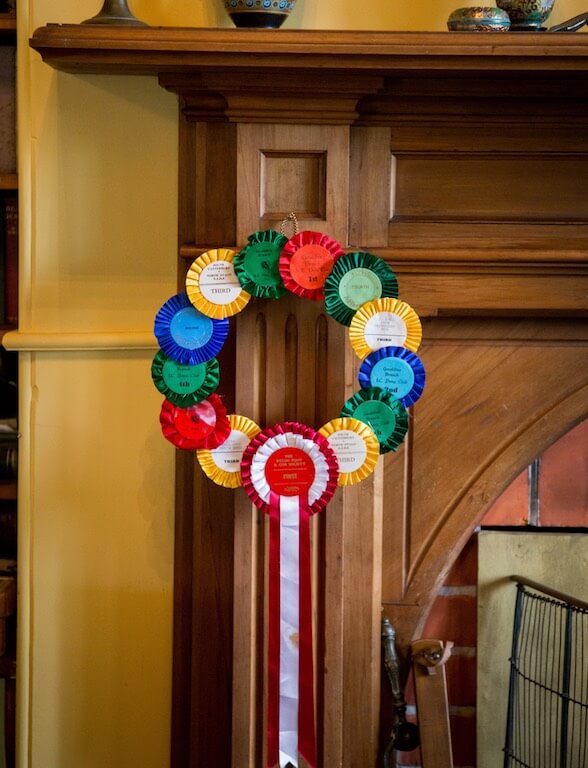
A wreath is a stunning way to display rosettes. You can use one colour (red or red and green are an obvious choice for a Christmas wreath) or go for a multi-coloured effect, but sticking to two or three colours will create a more stylish wreath.
The materials are easily found at your local craft store, or you can reuse an old Christmas wreath as I have done here. Willow vine wreaths are not expensive, and if you have vines growing in your garden, you can make your own from grape, wisteria or other vines.
If you are using polystyrene, you can cover it in old ribbons first to cover the white.
Materials needed
- Rosettes
- Glue gun
- Willow vine wreath or some other kind (wire or polystyrene).
- Scissors
Instructions
- Roughly work out how many rosettes you might need, measuring the wreath’s circumference (distance around the circle), and dividing it by the diameter (distance across the circle) of your rosettes. (ie. If the circumference of the wreath is 1m and the rosettes are 10cm in diameter, you will need about 10 rosettes)
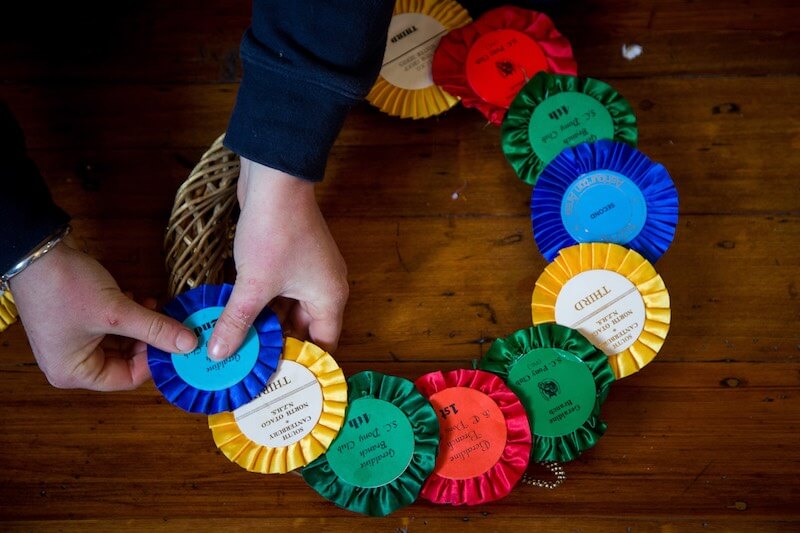
- Remove all the rosette tails with scissors except for one to three rosettes; these will go at the bottom of the wreath; start by arranging these rosettes first.
- Arrange the rest of the rosettes around the wreath. Try different positions and layouts until you find the one that looks best.
- When you have decided on the layout, carefully use your hot glue gun to glue the rosettes onto the wreath, making sure to hold each one firmly in place until the glue has set.
- Allow the glue to cool and then hang with twine, or use an old ribbon.
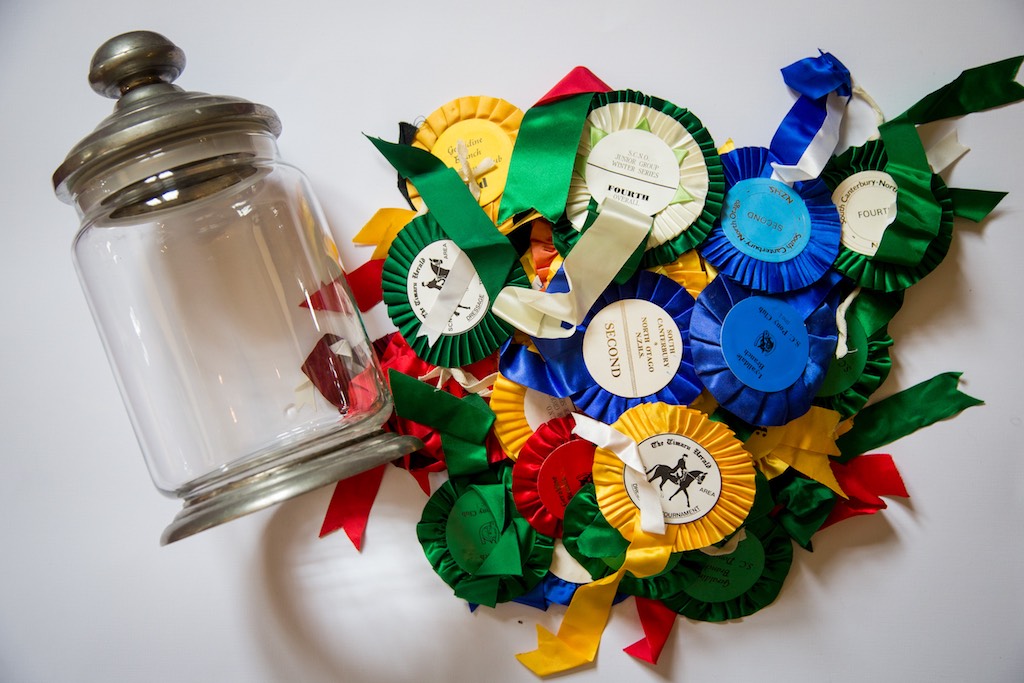
3. GLASS JAR DISPLAY

This is as simple as it gets. You can use just about any glass vessel from jars or vases to hurricane lamps or lanterns, all shapes and sizes. They needn’t be the same, and you’ve probably got suitable options lying around in your kitchen cupboards.
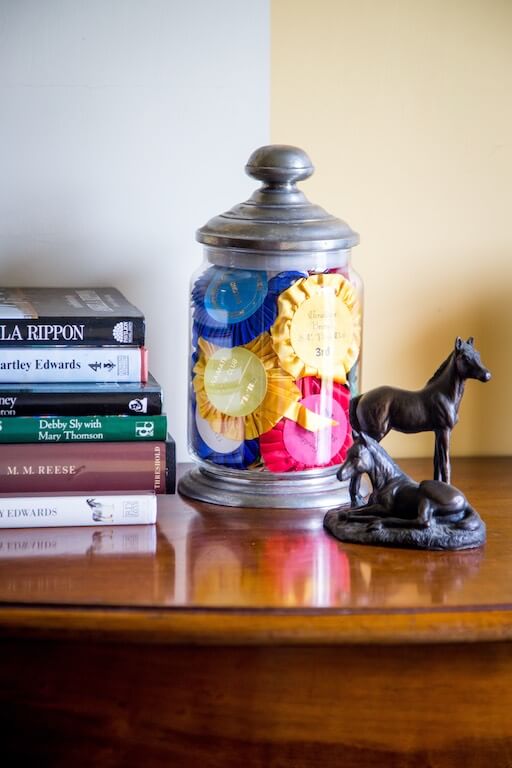
They’ll not only add a pop of colour and an equestrian element to any room, but allow you to view your treasured rosettes without cluttering up a whole wall. They can be easily rearranged to match your décor or work with the seasons.
Materials
- Rosettes
- Glass jar, vase, hurricane lamp, lantern or lamp with fillable base. To avoid dusting, it’s best to have something with a lid, but any old jar will do. Plain glass probably works best.
Instructions
- Chose which rosettes you want to use. Try multicoloured and monochromatic arrangements to see which you like best.
- Start at the bottom and layer the rosettes from the bottom up, ensuring the front of the rosette is clearly visible. Be careful to tuck the rosette tails under. If you don’t have enough rosettes to fill the whole vase, you can use scrunched up newspaper or old ribbons to fill the void in the middle.
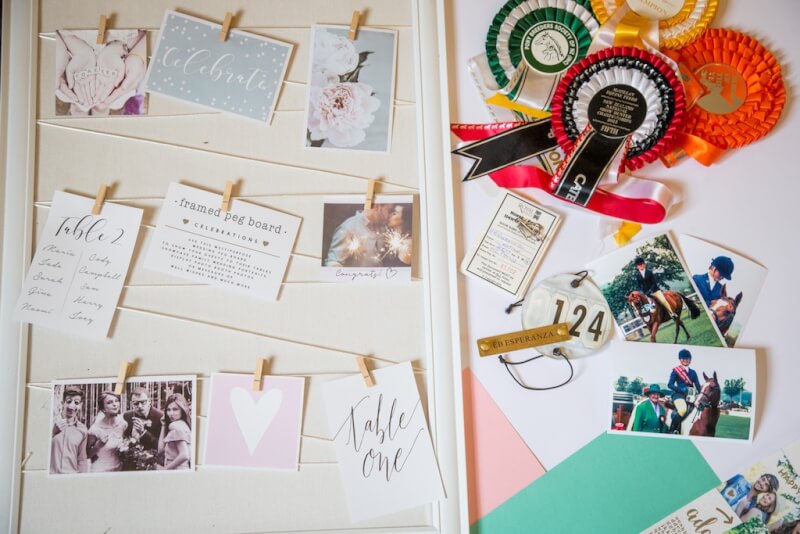
5. FRAMED PEG BOARD
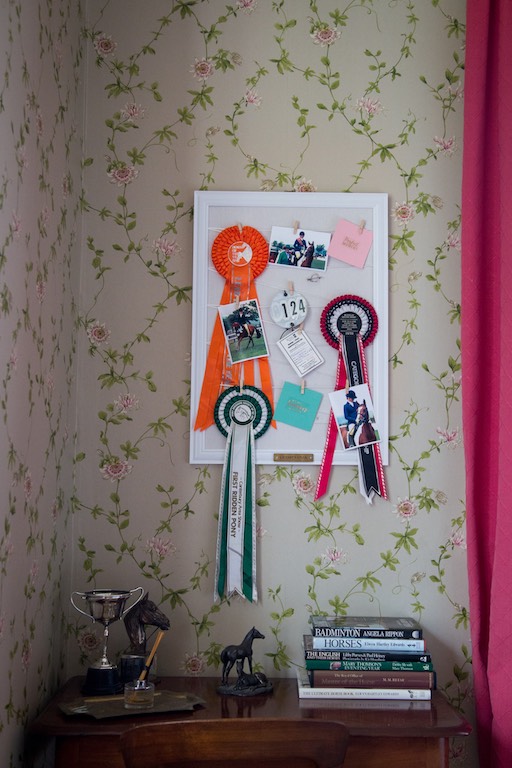
Glass-framed art and children’s bedrooms don’t mix well, especially if you have full-on kids like mine. So, for a cool and functional way to display some of their first equestrian achievements, a framed peg board might be just the ticket.
Framed peg boards are a modern take on the more traditional shadow box. You can buy them readymade at department stores (K-mart, The Warehouse or Spotlight) or you can make your own from scratch. You can incorporate everything from ribbons and rosettes to photographs, their winning back number and even the pony’s height registration certificate. You could even add motivating quotes or little sayings. Or better still, give your child all the materials they need and let their creative juices go wild!
Materials
- Store-bought framed peg board (or make your own)
- Scissors
- Rosettes
- Photos
- Height certificate
- Coloured paper
- Foil word stickers
Instructions
- Lay out all the pieces you want to include next to your peg board.
- Try different combinations until you get something you are really happy with. Don’t be afraid to mix it up.
- Then simply clip onto the pegs and voila, you’re done! Super-easy. The hardest part is deciding what to put on in the first place!